
To cancel apps on your iPhone, start by opening the Settings app and tapping your Apple ID. Next, select 'Subscriptions' to see all your active and expired subscriptions. Choose the subscription you want to cancel and hit “Cancel Subscription,” then confirm your choice. If you want to remove an app from your device, press and hold the app icon, select 'Remove App,' and confirm by tapping 'Delete App.' This helps you declutter and save space. To further manage your app usage and finances, stick around for more useful tips.
Key Takeaways
- Open the Settings app and tap on your Apple ID to access subscription management.
- Select 'Subscriptions' to view all active and expired subscriptions.
- Choose the subscription you wish to cancel and review its details.
- Tap "Cancel Subscription" and confirm your choice to complete the cancellation.
Accessing Your App Store Account
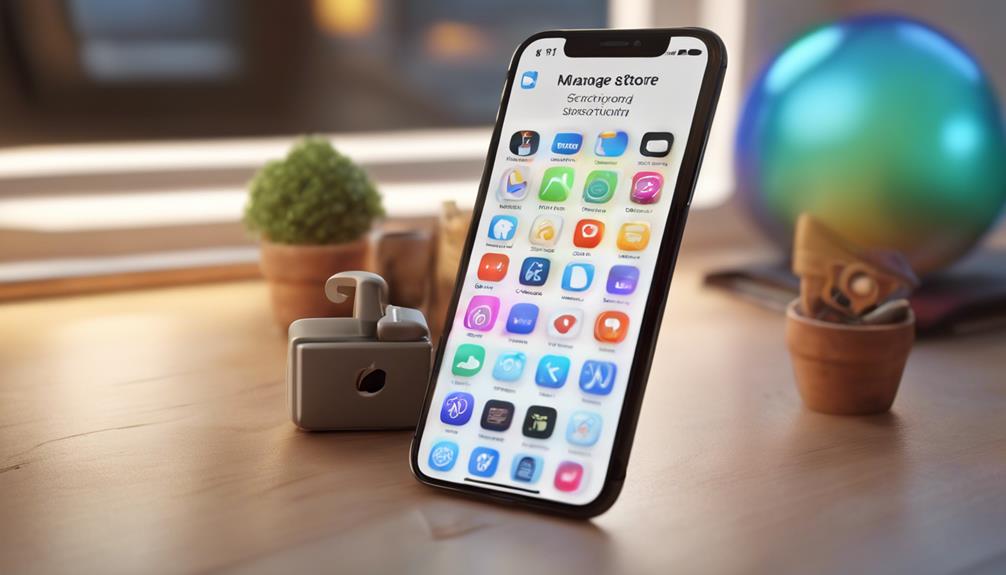
How do you access your App Store account to manage your subscriptions? It's simple! First, open your iPhone and tap on the App Store icon. Once inside, look for your profile picture at the top right corner. Tap it to enter your account management area.
In the App Store settings, you'll find a range of options that help you keep track of your purchases and subscriptions. Scroll down, and you'll spot the 'Subscriptions' section, where you can see all the services you've subscribed to. This is your central hub for managing everything related to your subscriptions.
You might notice that some subscriptions are set to renew automatically, while others may be up for renewal soon. Knowing this is key in ensuring you're not caught off guard with unexpected charges.
Viewing Subscriptions

To view your subscriptions, simply scroll down to the 'Subscriptions' section in your App Store account. This part of the App Store is essential for effective subscription management, helping you keep track of your app usage.
Here's how to navigate it:
- Select Your Account: Tap your profile picture in the upper right corner to access your account settings.
- Navigate to Subscriptions: Scroll down until you see the 'Subscriptions' option. Tap on it to see all your active and expired subscriptions.
- Review Details: Each subscription will display its renewal date, price, and other relevant information. This helps you stay informed about what you're paying for.
- Make Changes: If you need to adjust anything, this is where you can manage your subscriptions effectively.
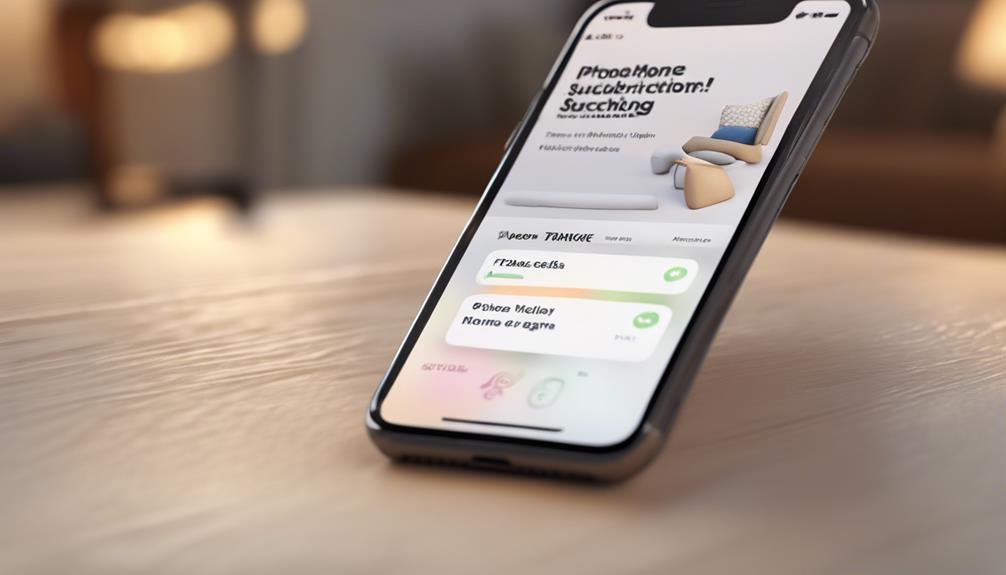
Canceling Subscriptions Step-by-Step
Once you've reviewed your subscriptions, canceling any unwanted ones is a straightforward process that only takes a few moments.
Start by opening the Settings app on your iPhone and tapping on your Apple ID at the top. From there, select 'Subscriptions.' This gives you a complete view of your active and expired subscriptions.
Next, choose the subscription you want to cancel. You'll see details about the plan, including the renewal date and price. Tap “Cancel Subscription” and confirm your choice. It's that simple!
Remember, using these subscription management tips not only helps you regain control of your finances but also boosts your overall app experience. By canceling subscriptions you don't use, you're freeing up space—both in your wallet and on your device.
The app cancellation benefits extend beyond just saving money; you're also decluttering your digital life. It feels good to streamline what you have, making it easier to focus on the apps that truly matter to you.
Deleting Apps From Your Device

Deleting apps from your iPhone is quick and easy, allowing you to free up space and simplify your home screen. Whether you're looking to declutter or just want to remove unused apps, here's how to do it efficiently:
- Tap and Hold: Press and hold the app icon you want to delete until a menu appears.
- Select Remove App: Choose 'Remove App' from the options presented.
- Delete App: Tap 'Delete App' to confirm your choice. This action removes the app and all its data.
- Use App Organization Tips: Consider organizing your remaining apps into folders to enhance your home screen's usability.
If you're exploring alternative app stores, remember that deleting apps can help streamline your experience, making it easier to navigate through new options.
Regularly cleaning up your apps not only helps with storage but also keeps your device running smoothly. Plus, it gives you a sense of ownership over your digital space.
Managing Free Trials

Managing free trials on your iPhone is vital to avoid unexpected charges and to make the most of your app experiences. When you sign up for a free trial, it's easy to get swept away in the excitement of exploring new features. However, it's important to stay aware of free trial pitfalls that could lead to unwanted subscriptions.
First, always note when your trial ends. Mark it on your calendar or set a reminder on your phone. This way, you're in control and won't forget to cancel if you decide the app's not for you.
Next, manage your expectations. Understand what the app offers during the trial and what features might require a paid subscription. This knowledge helps you evaluate if the app's worth your investment in the long run.
Understanding Refund Policies
It's crucial to know the refund policies of apps, as they can vary widely and impact your decision to cancel a subscription. Understanding these policies helps you navigate your options better and guarantees you make informed choices.
Here are some key points to reflect on regarding refund eligibility and subscription tiers:
- Trial Periods: If you've recently started a free trial, you may be able to cancel without any charges, but check the terms to confirm.
- Refund Requests: Most app stores allow you to request a refund within a specific timeframe after your purchase. Be sure to act quickly!
- Subscription Tiers: Different subscription tiers may have distinct refund policies. Higher tiers could offer better refund options, so review them before choosing.
- Usage Limitations: Some apps only provide refunds if you haven't used certain features. Familiarize yourself with these limitations to avoid disappointment.
Checking for Remaining Subscription Period
Before canceling your app subscription, check how much time you have left in your billing cycle to avoid unexpected charges. Knowing this helps you make informed decisions and guarantees you're not caught off guard by renewal notifications. Most apps send subscription reminders, but it's a good idea to double-check manually.
Here's a quick way to visualize your subscription status:
| App Name | Renewal Date | Remaining Days |
|---|---|---|
| Fitness Plus | October 15, 2023 | 10 days |
| Music Stream | November 1, 2023 | 17 days |
| Game Hub | October 30, 2023 | 7 days |
| Photo Editor | December 5, 2023 | 25 days |
Reinstalling Apps After Cancellation

Reinstalling an app after cancellation is a straightforward process that can quickly restore your access to its features and services.
Whether you missed a favorite app or need it for a specific task, you can easily get it back. Here's how to do it:
- Open the App Store: Launch the App Store on your iPhone.
- Search for the App: Use the search bar to find the app you want to reinstall.
- Download the App: Tap the download icon (cloud with an arrow) to start reinstalling the app. If you previously purchased it, you won't incur any charges.
- Check Your App Data: Once reinstalled, open the app and sign in if necessary. Your app data may be restored based on the app's backup options.
Conclusion
Now that you've got the hang of canceling apps on your iPhone, you're ready to take control of your subscriptions and declutter your device.
Just remember, managing your apps is like tending a garden—sometimes you need to prune back to let the best blooms flourish.
Whether it's canceling a subscription or deleting an app, you're in the driver's seat.
Enjoy a streamlined experience and keep your iPhone just the way you want it!